How vapor smoothing transforms SLS 3D printing
In the world of additive manufacturing, surface quality often determines whether a 3D printed part is suitable for functional use or presentation. That’s why Sinterit is proud to announce a new partnership with AMTechnologies, a leader in the field of professional postprocessing solutions, offering their vapour smoothing system — the SFX — as part of our extended product lineup. In this article, we’ll explore what vapour smoothing is and why it’s a breakthrough technology for SLS prints.
What is vapor smoothing (vapour smoothing)?
Vapour smoothing is a physical post-processing technique that uses controlled solvent vapour to melt and reflow the outer surface of polymer 3D prints. This process seals microscopic pores, smooths the surface texture, and gives parts a polished, high-quality appearance. From the user perspective, it’s very easy – you simply power on AMT’s SFX, wait till it warms up, select a preset, insert the models, wait till the process ends and remove the models from the device – it’s that simple!
Why it’s especially valuable for SLS?
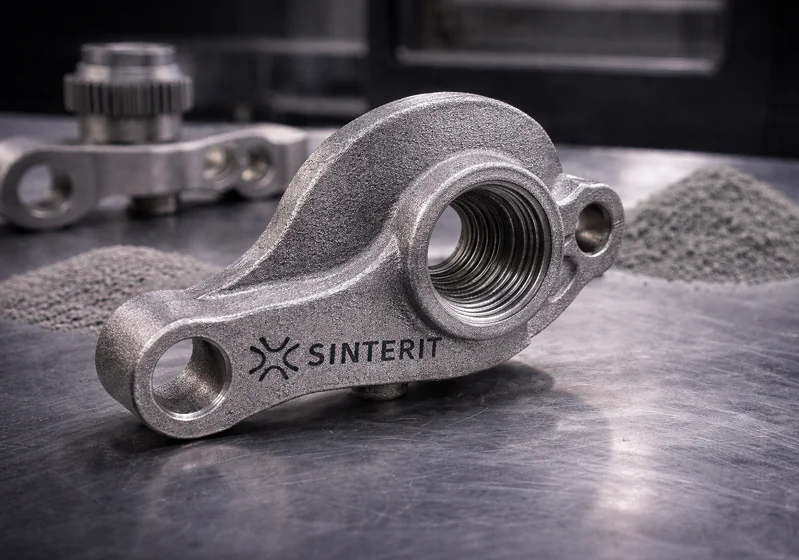
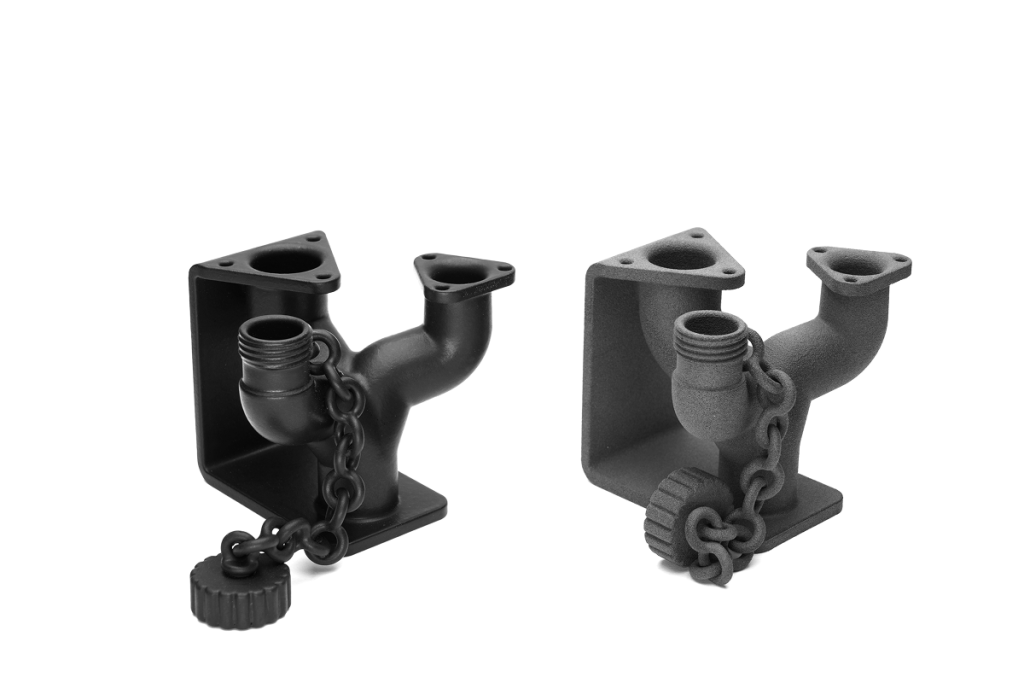
Selective Laser Sintering (SLS) excels at creating strong, complex parts directly from powder — no support structures required. These work great in numerous applications, from prototyping to end-use products. However, SLS prints often have a rough, matte, and porous surface finish that can limit their use in the most demanding applications.
Vapour smoothing addresses these challenges by:
- sealing porous surfaces,
- reducing surface roughness,
- enhancing surface aesthetics and touch.
How hard is it to use vapour smoothing for SLS printouts?
Not hard at all! The process starts where printing ends – with a printout in your hand. It’s a good idea to give the models a bit of extra care during the sandblasting process to get the most out of the vapour smoothing. The SFX makes an easy and quick work out of the postprocessing.
- First, you need to turn on the device and select the correct preset (average wall thickness, chamber utilisation, smoothing level) and wait till it’s warmed up.
- In the meantime, you can prepare the racks with your models. Hanging them off the racks will produce the best results.
- The smoothing process takes between 1,5 and 4 hours. In the meantime, you can prepare the next batch of models for smoothing, prepare the next print or simply relax.
- The models are ready! They can be used right after being removed from the device, but since they might be a bit warm, it’s a good idea to leave them to cool down for a couple of minutes.
- If you have another batch ready, you can toss it in the right away since the device is already warmed up.
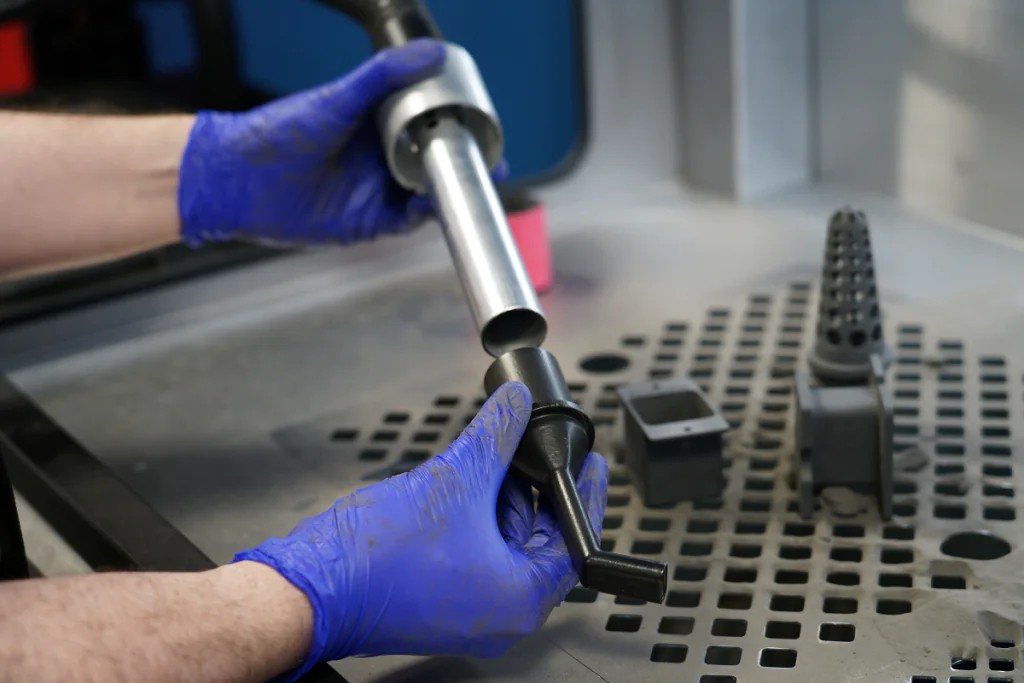
Benefits of vapor (vapour) smoothing for SLS printing
The results of the process are smooth, semi-glossy parts with a deep black colour, which is the most frequently used colour in the printout dyeing. For the untrained eye, the vapour-smoothed printouts might look very close to injection moulded ones, which elevates their value as end-use parts. The improvement, however, goes far beyond just the appearance. There are additional advantages of the vapour smoothing process:
- the models are easier to clean,
- the improved fluid flow characteristics for ducts or housings,
- elimination of the surface porosity results in better sealing in gaskets, enclosures, and fluidic components.
A smarter, unified workflow
By offering AMTechnologies’ SFX system as part of our post-processing ecosystem, Sinterit helps users take parts from powder to polished black finish — all in-house. Whether you’re working on prototyping, short-run production, or end-use manufacturing, vapour smoothing gives your prints the final touch they need.
Ready to upgrade your SLS prints with a smoother, stronger, more professional finish?
Explore our vapor smoothing solutions or contact our team to learn how the SFX system can enhance your workflow.
What’s next?
In our next blog post, we’ll dive deeper into how to prepare your prints for vapour smoothing, including design tips, material considerations, and limitations to keep in mind: article here.
FAQ
What does the vapour smoothing process look like step by step?
Power on AMT’s SFX, select the right presets for wall thickness, chamber utilisation, smoothing level, wait till it warms up, insert the models, wait for the end of the smoothing process, and remove the models from the device.
Does vapour smoothing weaken the part?
Generally speaking, no, it will rather strengthen the parts, but since the models are being warmed up to high temperatures above 120°, some extremely thin structures might not be suitable for the vapour smoothing. This topic will be further explored in the next article.
How long does the vapour smoothing process take?
The SFX warmup takes roughly 1,5 hours. After the device is warmed up, the postprocessing takes from 1,5 (thinner walls) to 4 hours (thicker walls) for each batch.
Can I use vapour smoothing for medical or food-contact parts?
The vapour smoothing process uses safe chemicals that don’t affect food contact safety. However, the certifications are usually granted based on individual processes and applications, so your mileage might vary.
Does vapour smoothing reduce visible layer lines?
Vapour smoothing will improve the quality of the surface, but won’t fix the issues with the model. If the model was printed in a poor orientation, the layers will become more visible, so it’s very important to use the right orientation for the models while printing. This topic will be further explored in the next article.
Can I use the same process for prototypes and end-use parts?
Absolutely – vapour smoothing works great for prototyping too, especially if you’re working with mechanical parts, or models that have to work great in ducts, valves, etc. General prototyping will benefit from it too, as you would be able to see, for instance, how your model would look in the injection moulding scenario.
