How to design for 3D printing?
Designing for additive manufacturing requires more than just creative modeling — it calls for a deep understanding of how digital geometry interacts with physical process limitations. Whether you’re creating end-use parts, mechanical prototypes, or aesthetic models, knowing how to design for 3D printing ensures that your ideas translate smoothly from screen to reality.
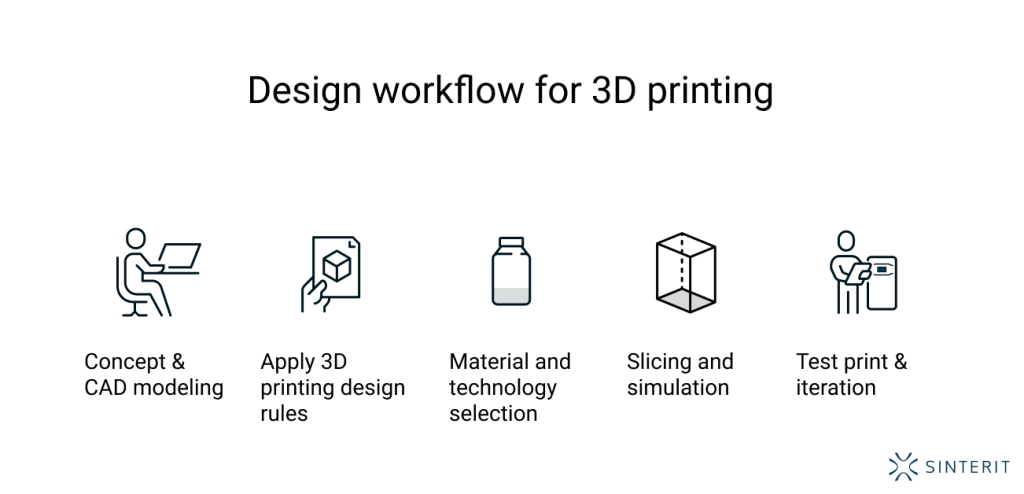
Below, we explore the most important principles and strategies to help you design effective, functional, and printer-friendly parts — regardless of the technology or material.
Think additively: design mindset for 3D printing
The first step in learning how to design things for 3D printing is to shift your mindset from subtractive to additive. Traditional manufacturing often imposes constraints based on tooling, machining paths, or mold parting lines. In contrast, 3D printing builds geometry layer by layer — which allows for internal channels, undercuts, organic shapes, and part consolidation.
However, this freedom comes with its own challenges: overhangs, unsupported areas, and material-specific tolerances all need to be addressed in your design process.
Follow the core 3D printing design rules
Regardless of whether you use FDM, SLA, SLS, or another technology, there are some universal 3D printing design rules that apply. For example, walls should not be too thin to ensure strength and printability. Overhangs greater than a certain angle (typically 45° for FDM) may require support structures. Small text and sharp edges can be lost or distorted depending on the resolution of the printer and the material flow.
When considering how to design models for 3D printing, it’s crucial to match your features to your technology’s resolution and tolerances — and to keep slicing behavior in mind during the modeling phase.
Design with your printer and material in mind
No two printers behave the same, and the choice of material can dramatically affect your design outcomes. How to design for a 3D printer means asking: What is the nozzle diameter? What are the layer height capabilities? Does the resin cure differently at thin vs thick sections? How much shrinkage can I expect?
If you’re designing for FDM, you’ll need to accommodate for extrusion width, cooling rates, and bridging behavior. For SLA or DLP, the focus shifts to thin wall support, resin drainage, and light bleed. And for SLS, how to design objects for 3D printing includes managing powder escape holes, uniform wall thicknesses, and minimal flat contact to avoid warping.
Iterate digitally, but validate physically
Even the most carefully optimized digital model needs to be validated with a real-world print. One of the strengths of 3D printing is rapid iteration — you can print, test, revise, and reprint in hours instead of days or weeks. Use this to your advantage. Print test parts to check tolerances, fit, aesthetics, and functional behavior.
So when considering how to design items for 3D printing, remember that the process isn’t linear. It’s cyclical. Good design isn’t finished until it’s been printed, evaluated, and possibly adjusted.
Conclusion
Knowing how to design for 3D printing is about balancing freedom and constraint. It means embracing the geometric flexibility of additive processes while respecting their technical limits. By following key design rules, choosing the right approach for your printer and material, and iterating through testing, you’ll ensure your parts are both functional and printable.
Designing for 3D printing isn’t just about making things that look good on screen — it’s about making ideas that truly work in the physical world.
Explore also
- How big can 3D printers print?
- 3D printing overhangs
- What is resolution in 3D printing?
- Wall thickness 3D print
- Tolerances for 3D printing
- Support 3D print
Related categories