3D Printers
SLS 3D Printers
Peripherals
Printers ecosystem
Customer Zone
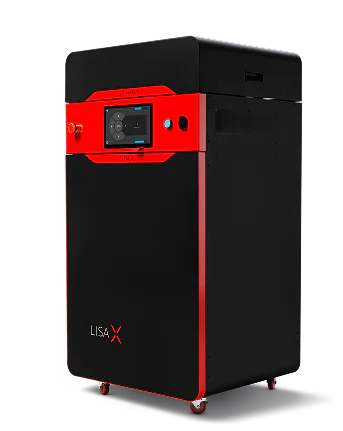
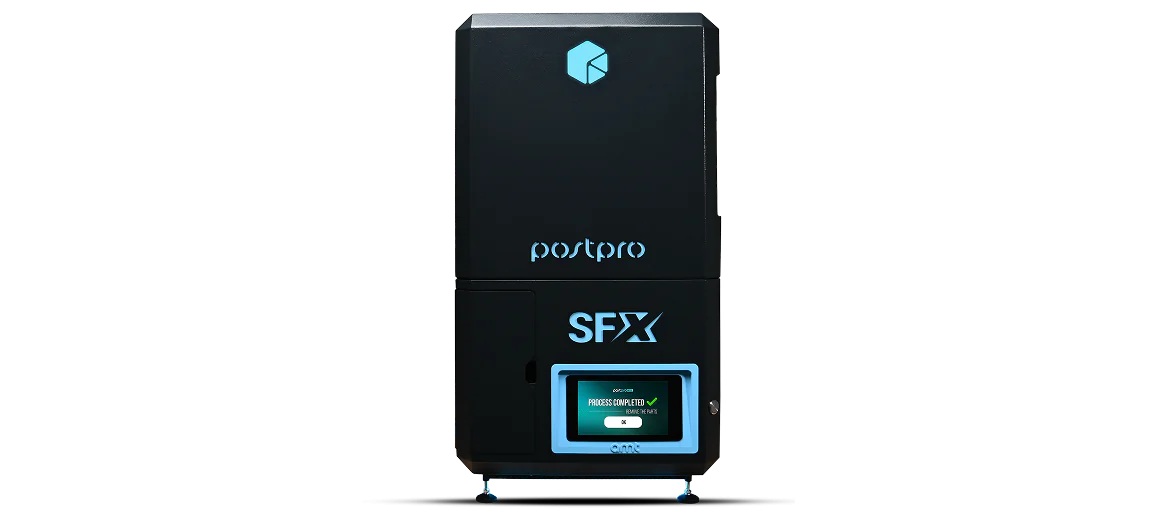
AMT PostPro SFX is available as part of a set with Sinterit SLS 3D printers – Lisa X or Suzy – ensuring full compatibility and an optimized end-to-end workflow.
If you’re already using a Sinterit printer, the vapor smoothing solution can be added to extend your post-processing capabilities. Please contact us to explore available options.
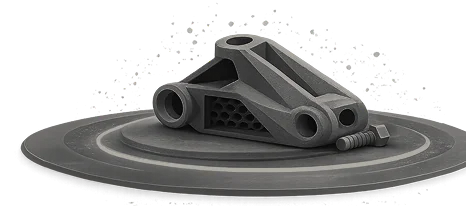
Most 3D prints have visible layer lines or rough textures due to the nature of additive manufacturing, where objects are built layer by layer. Factors such as layer height, material type, and print settings can affect surface finish. Even high-quality SLS prints may show some porosity or micro-roughness.
To make your 3D print smooth, you’ll need to apply a post-processing method that reduces surface roughness. One of the most effective techniques is vapor smoothing, which chemically smooths and seals the surface, removing visible layer lines and improving both appearance and performance. Other methods include sanding, bead blasting, or coating with resins — but vapor smoothing is ideal for functional parts, especially when hygiene or sealing is important.
Vapor smoothing is an advanced post-processing technique used to improve the surface quality of 3D printed parts. It works by exposing the parts to controlled vaporized solvents that gently melt the outermost layer of the material. This process smooths the surface, seals microscopic pores, and enhances mechanical properties — resulting in a finish comparable to injection-molded parts. It’s especially effective for SLS and FDM prints made from thermoplastics like PA12, polypropylene or TPU, and is ideal for applications requiring cleanability, durability, and professional aesthetics.
Vapor smoothing is not suitable for all 3D printing materials. It works best with specific thermoplastics — particularly those used in SLS and FDM technologies — such as PA12, TPU, ABS, polypropylene, and ASA. These materials respond well to the vapor process and show significant improvements in surface finish and mechanical properties. However, materials like PLA or certain composite-filled polymers may not be compatible or could degrade under vapor exposure. Always check material compatibility before processing.
Yes, vapor smoothing can cause slight dimensional changes, typically in the range of a few microns, depending on the material, geometry, and processing time. While the effect is minimal and generally uniform, it may slightly alter tight tolerances — especially on small, detailed features. For most applications, the change is negligible and outweighed by the benefits in surface finish and performance. However, for critical-fit parts, it’s recommended to factor in vapor smoothing during the design phase or conduct post-process dimensional verification.
Vapor smoothing should be applied as a final post-processing step—after printing, depowdering, and any necessary mechanical finishing or dyeing. It’s ideal for parts that require improved surface quality, sealing, or enhanced mechanical properties before reaching the end-use phase. Whether you’re preparing prototypes for presentation or functional parts for real-world use, vapor smoothing helps ensure a professional finish and consistent performance. For best results, integrate it after all other modifications are complete.
The vapor smoothing process typically takes 30 to 90 minutes, depending on the material type, part geometry, and desired surface quality. This includes all stages: conditioning, vapor exposure, re-solidification, and drying. The process is automated and consistent, making it suitable for both prototyping and batch production without adding significant delays to your workflow.
Smoothing techniques are specific methods used to reduce surface roughness and improve the appearance or functionality of 3D printed parts. These techniques focus on how the smoothing is achieved and may vary depending on material, geometry, and desired finish.
Common techniques include:
Each technique has trade-offs in terms of cost, speed, repeatability, and surface detail. Selecting the right one depends on your application — from functional prototypes to end-use parts.
Smoothing treatments refer to complete post-processing workflows applied to 3D printed parts with the goal of enhancing surface finish, improving hygiene, sealing the surface, or preparing the part for certification or use in regulated environments.
Unlike “techniques,” which describe individual methods, a treatment may combine several steps, such as:
Smoothing treatments are often part of a validated or automated process, especially in industrial applications like medical, food processing, or aerospace, where consistent and certifiable surface quality is essential.
They ensure the final part meets functional and regulatory standards, going beyond just looks — delivering cleanability, sealing, and performance enhancement.
Need a 3D Printer tailored for this purpose?

Your concerns may include costs, ROI, customer support, print quality, or printing speed. We have helped thousands of companies make the right choice.
Stop Choosing Printers.
Start Solving Your
Production Challenges.
Get a tailored SLS solution that delivers
quality, ROI & reliability – on your terms.
 Best ROI on the market
 Exceptional After Sales Support
 Lowest Powder Costs
 One Printer → 10+ Materials
Proven Quality & Repeatability
One Printer → 10+ Materials
Proven Quality & RepeatabilityBook a free consultation with our SLS Experts