3D Printers
SLS 3D Printers
Peripherals
Printers ecosystem
Customer Zone
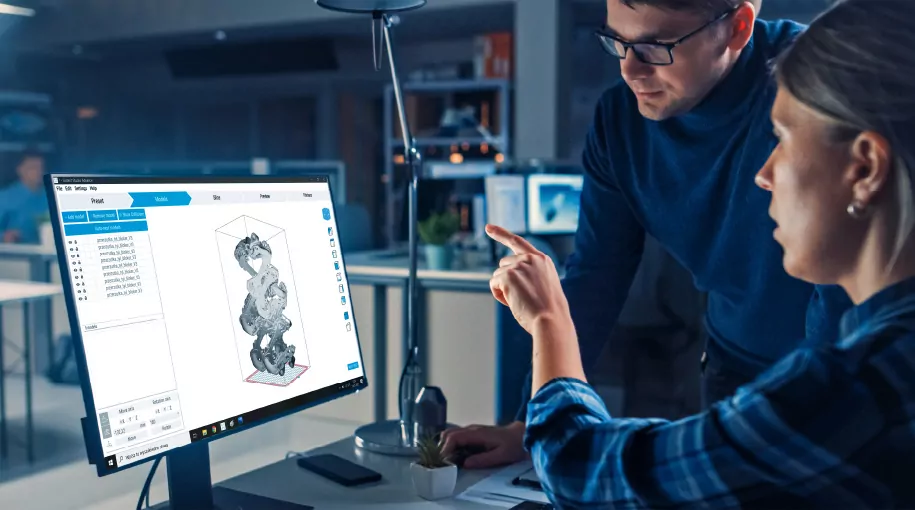
Sinterit Studio helps you optimize the entire printing process and gives you many more printing options than competing solutions offer.
Clear steps in our 3D printing software guide you quickly and easily through all printing preparation stages.
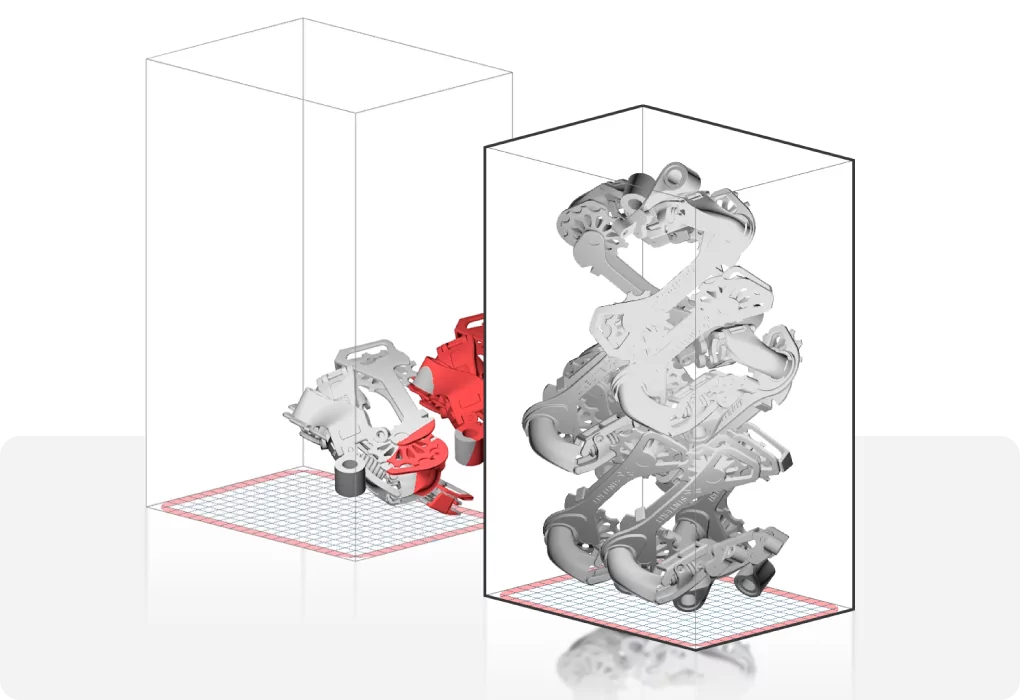
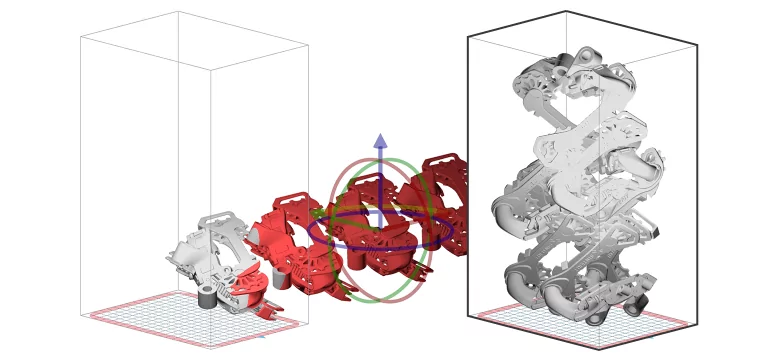
Use this feature to place multiple models with a few clicks and make this stage even faster.
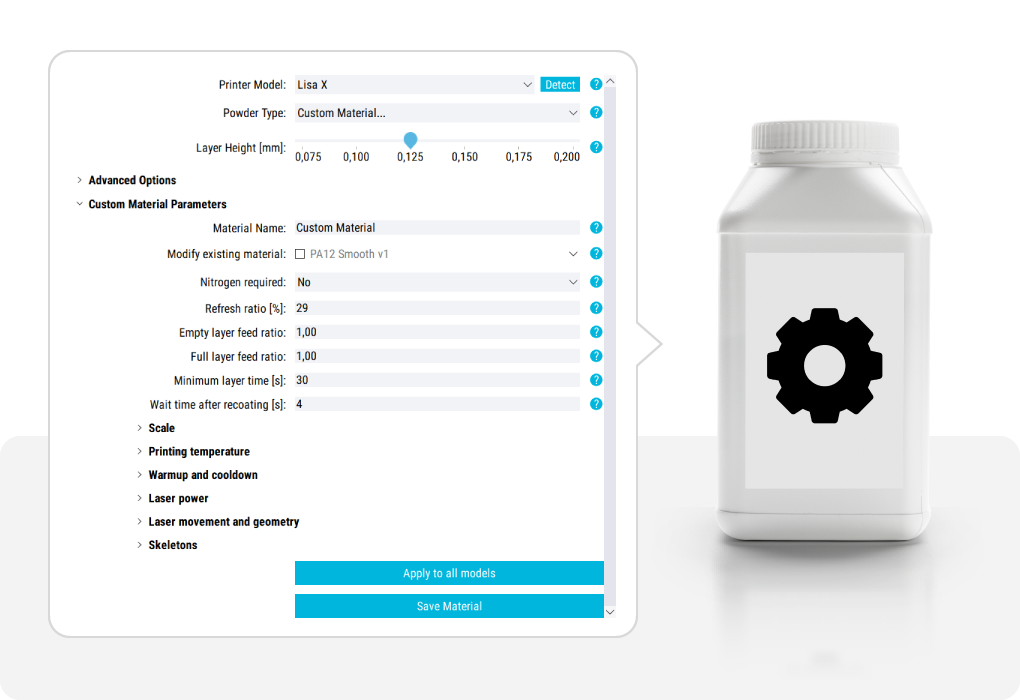
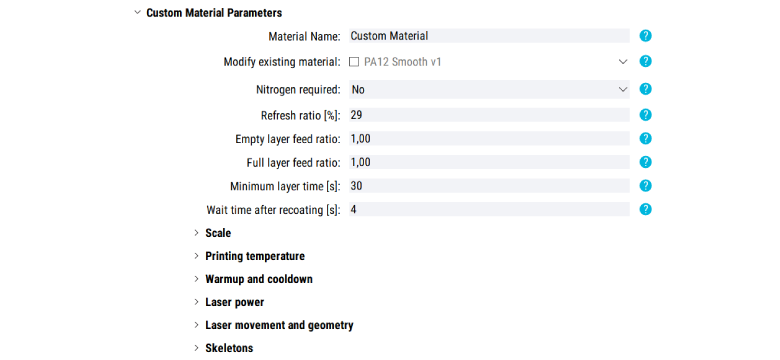
Achieve better mechanical, functional, and aesthetic properties – use 32 printing parameters for pre-defined Sinterit material and custom material profiles.
Check out the features of our software
Follow the steps explained below. Discover all functionalities and enjoy all printing possibilities you have with the Sinterit Studio.
The Sinterit Studio guides you smoothly through the 3D printing process. Find more information about the main steps below.

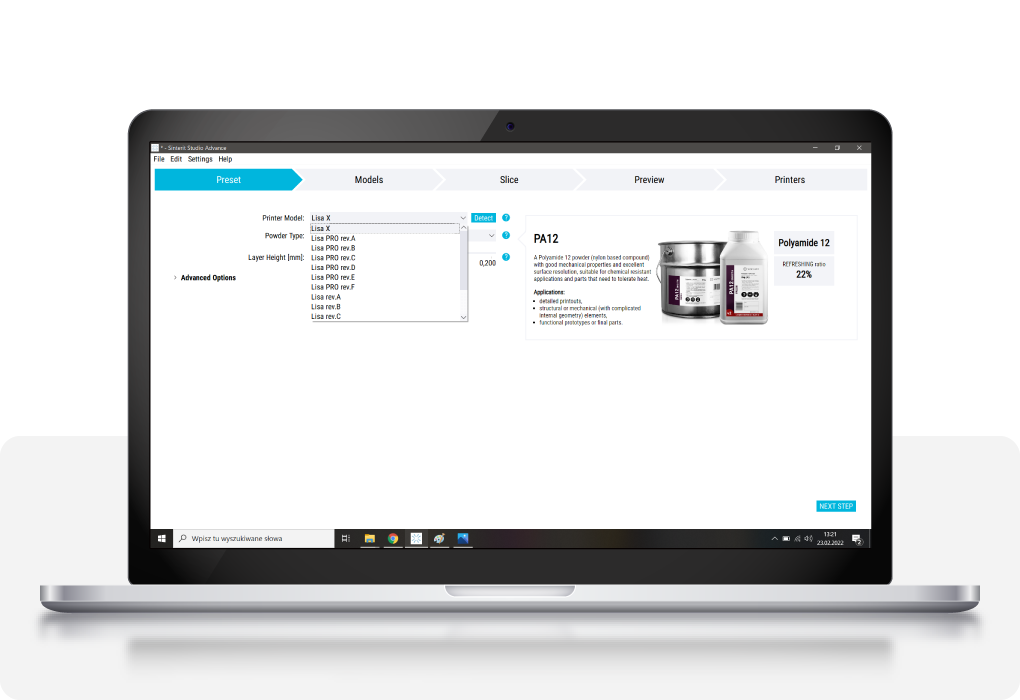
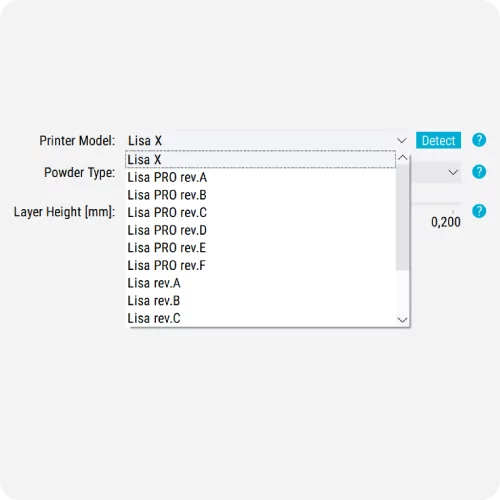
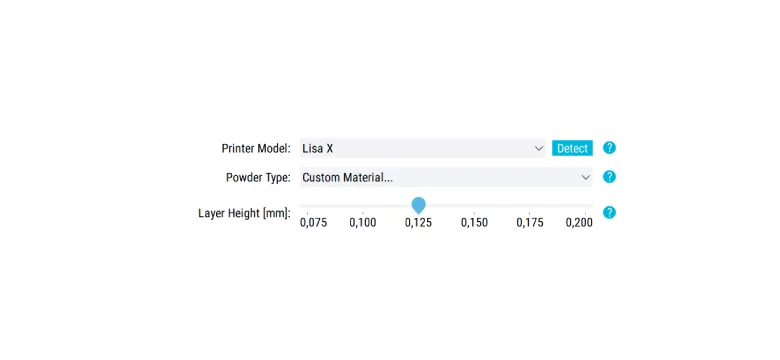
> Choose the printer and its correct revision.
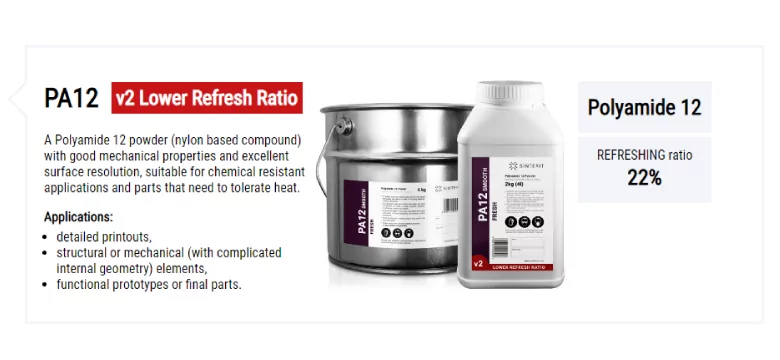
> Find the powder you want to use.
> Define the layer height

> Upload your model
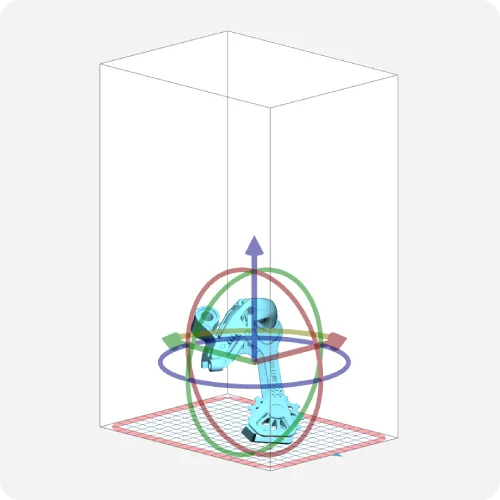
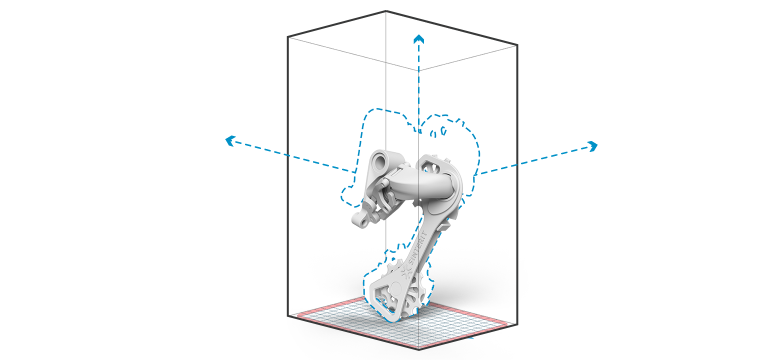
> Find the correct position and orientation for the model

> Slice your models
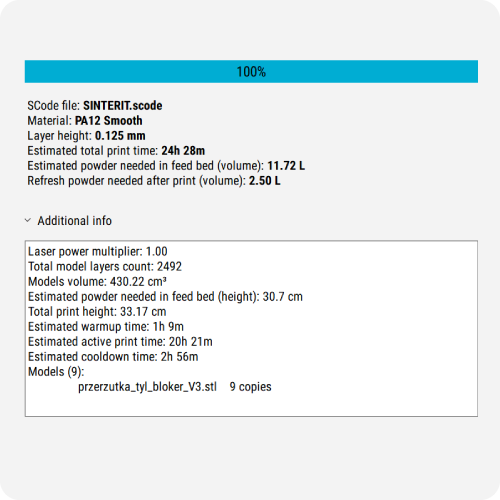
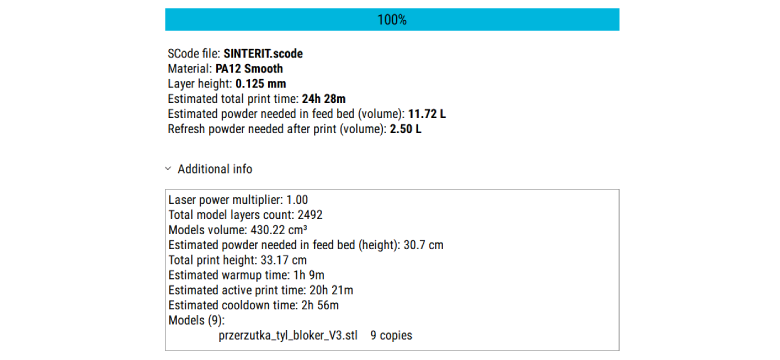
> See printing details

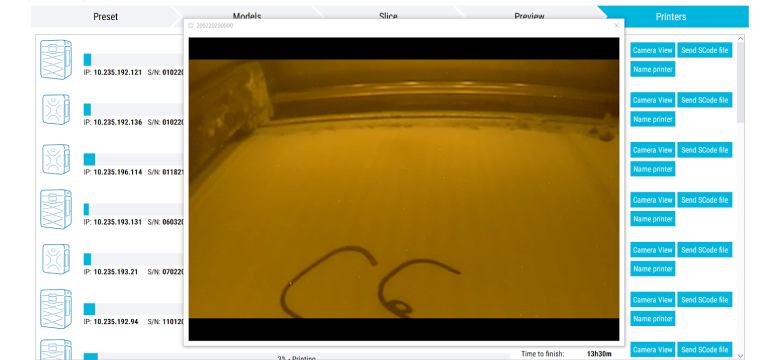
> Track printing process layer by layer
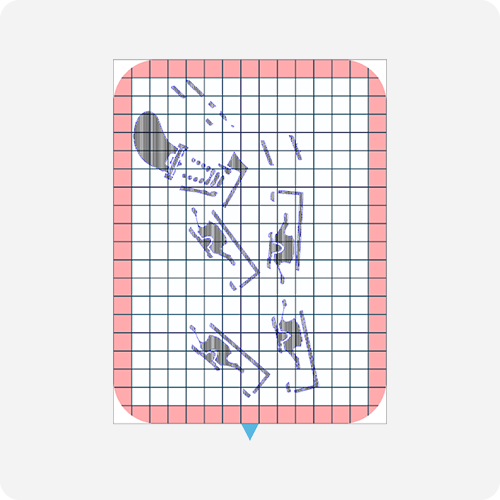
Thanks to the auto-nesting functionality, it’s now possible to automatically and optimally distribute the desired elements within the printer’s chamber.
Slicing lets you transform uploaded models into layers so the printer can have clear instructions for how to print. You can also view all layers before starting the print.
All Sinterit materials compatibile with the printers have already set printing parameters so you can simply upload models, slice them and send them to the printer.
If you choose a custom material for your print, or want to change the profiles for Sinterit’s materials, you can use 32 open printing parameters to adjust the mechanical, functional, or aesthetic properties of the print. Save new profiles to use them again.
If you need to rescale an uploaded model, you can simply adjust the scale instead of changing the model in the CAD software.
Depending on the design, you may need to adjust the layer height. This impacts precision a little but can be useful when you need prints faster. Other solutions often allow you to only use only a pre-defined layer height.
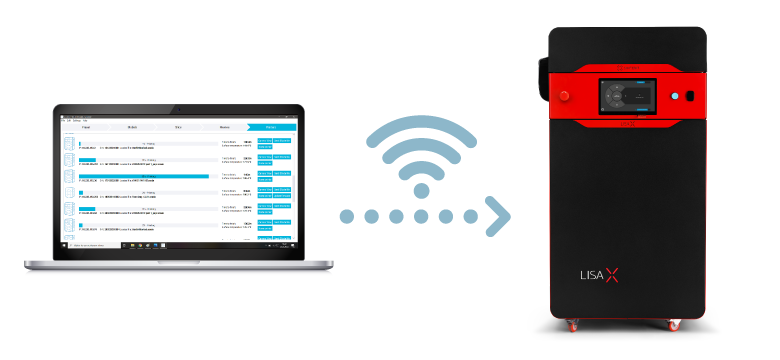
Pair your software with machines. Then, if you want to send models directly to the printer, all you need to do is choose the correct printer in the preset section. Send files is a snap.
All information about printing status and printers is visible in the Printers section.
During the printing process you will have control over areas such as:
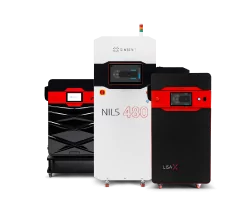


The license for Sinterit Studio is only for one device. 1 license = 1 device
You will find information on how long each stage will take in the Slice tab after slicing the project.
You will find information on how much powder to add for refreshing in three sections: the Slice tab after slicing the project, the printer’s touchscreen when you upload the project, or the section System info after the print process.
To get access to the paid version of software – Sinterit Studio Advanced – you need to register your printer. You will find the appropriate form in the support section. After registration you will receive an email with your license key and activation files


