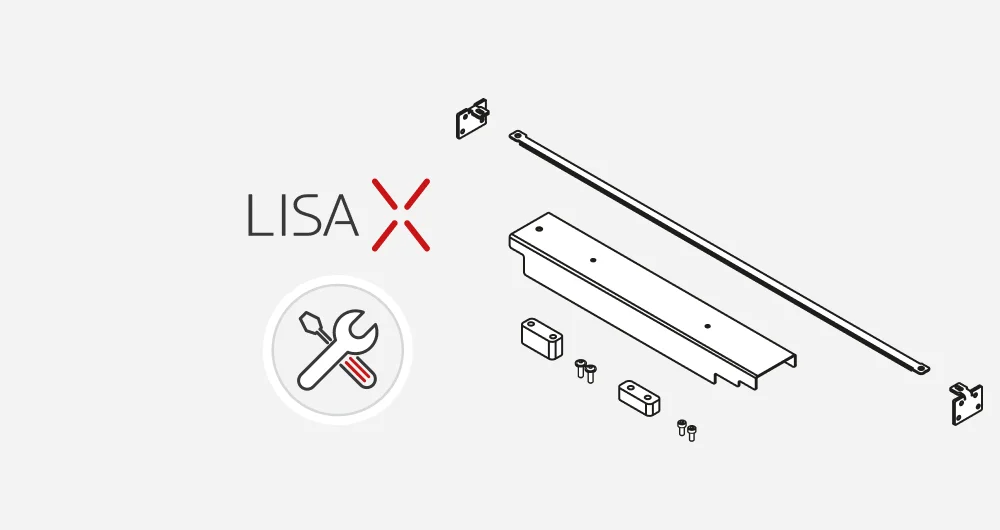
Replacement of Infrared bulb – Lisa X
Before each printout, the printer checks the condition of the components. An error will appear if one (or more) of the Infrared bulbs is faulty. Printing is impossible and the defective bulb(s) must be replaced.
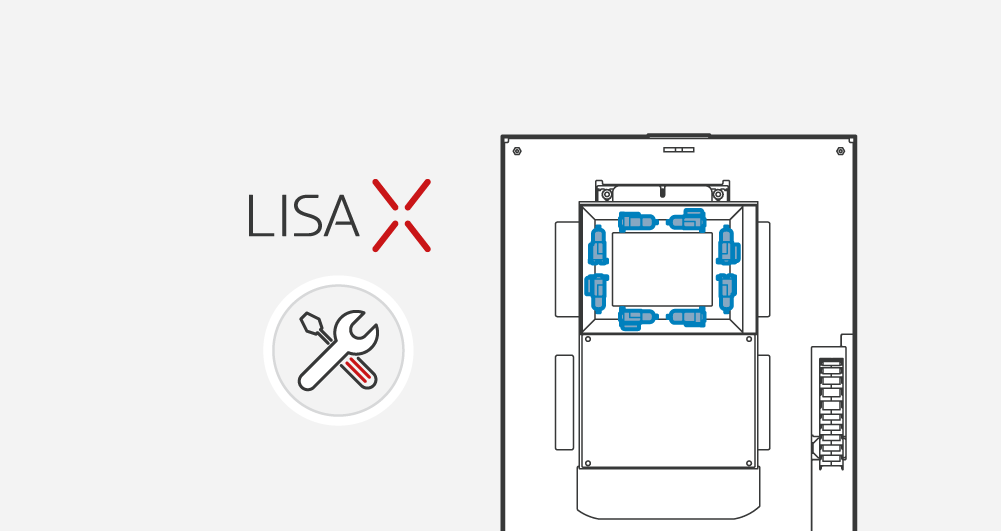
- To see which Infrared bulb needs replacing, go to MAINTENANCE // PRINTER STATUS then INFRARED BULBS.
- On the screen, a drawing will appear with the Infrared bulb(s) requiring replacement highlighted.
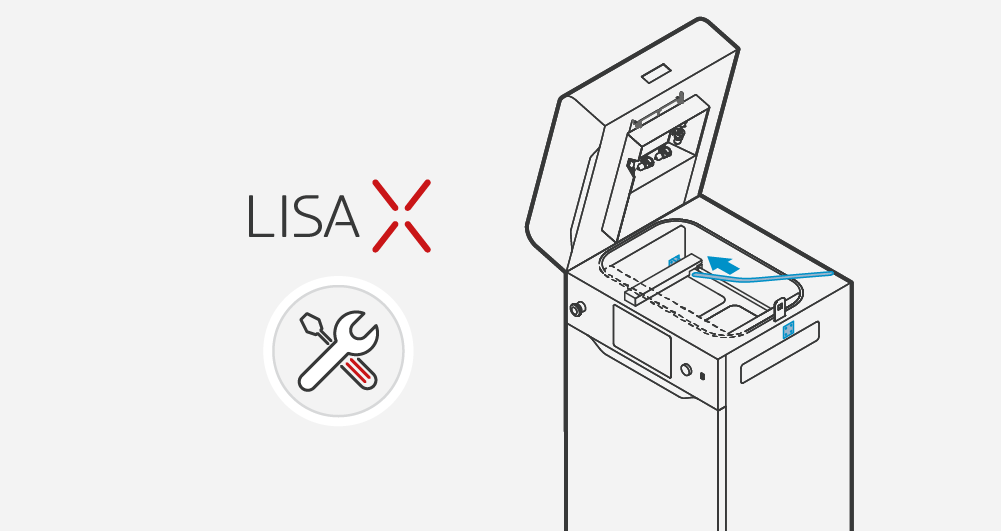
- Go back to the MAIN MENU screen and choose UNLOCK LID.
- Push on the lid and pull it up using the lid handle. Remember, you only have 10 seconds to open it before the lock activates again.
- Turn off the printer. IMPORTANT! Replacement of Infrared bulbs must be carried out with the device switched off!
- Put on the protective gloves.
- Make sure the Infrared bulbs are not hot.
- Use a clean cloth or paper towel while replacing the Infrared bulb. IMPORTANT! Do not touch it with your bare hands!
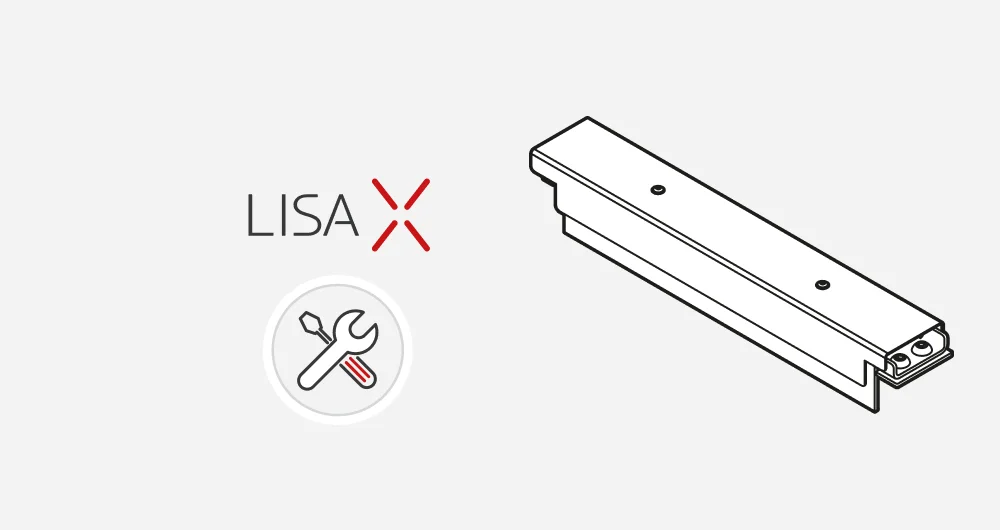
- Gently grab the Infrared bulb with your fingers and remove it parallel to its slots. IMPORTANT! Do not twist it in any direction because it may cause damage to the heater slots!
- Take a new Infrared bulb and insert it into the slot. It will work regardless of the heater orientation.
- Good job. The printer is ready to work again.