Pack density in SLS 3D printing
If in SLS technology I can distribute my models freely inside the printing bed, does it mean I can fit a lot more models and keep my cost per part as low as possible? It is a question that often comes to mind when you are adopting to SLS 3D printers, having used subtractive production technologies previously. If you were used to other 3D printing techniques, such as FDM or SLA, where you dealt with supports, the option of getting rid of them and adding additional models instead may seem attractive.
In this article we are going to tell you more about packing density. What is it? What packing values can you achieve? Does the dense arrangement of models affect the printing properties? Are there any contraindications? What rules should be adopted for elements printed from various available SLS materials?
What is a packing density in SLS 3D printing?
Packing density is a percent of the build volume taken by the printing parts themselves. If, for example, your packing density value is 10% it means that one tenth of the powder used in your SLS 3D printing job will become parts, while the rest of it will stay unsintered.
The lower values for packing density are in the range of 9-13% depending on the size of the SLS 3D printer, when 9% is a low pack density for small, and 13% – for bigger devices.
If you can reach a packing density of 30-36%, your printed bed will look completely filled. But it is not so easy to reach this percentage. It is mostly possible if you have homogeneous models, but in most cases it would be impossible to reach such density.
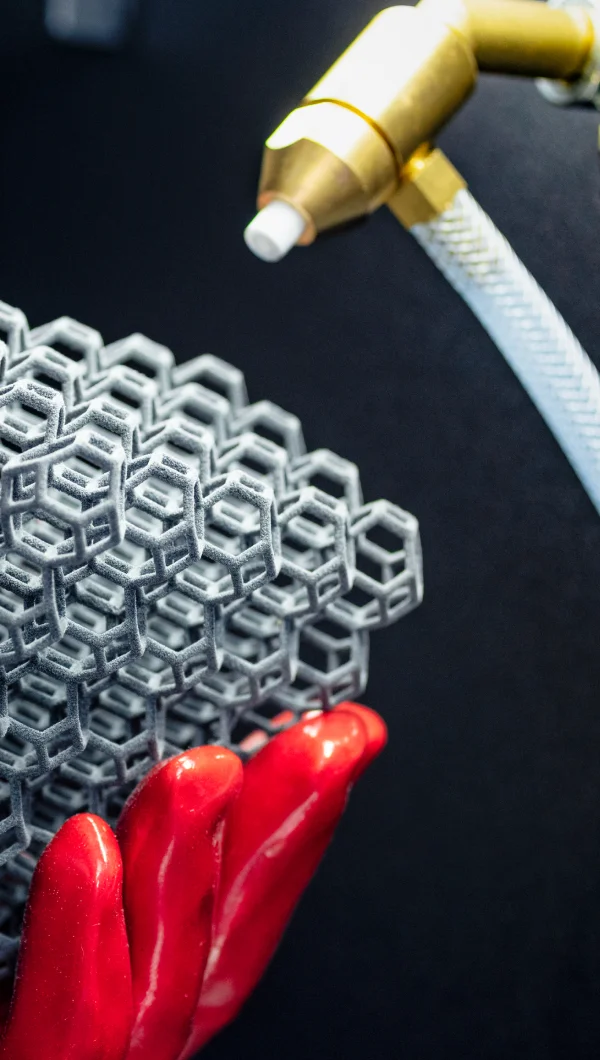
So even if you look at such packed printing beds as those above, there is still over 60% of free space. If you saw one of the viral videos on YouTube showing how much sand and water can be added to a jar full of pebbles, you know what we are talking about.
Can I fill the SLS 3D printing bed fully?
If you are using an SLS 3D printer for business purposes rather than for academic research, two factors may be crucial for the success of your project – costs & time. More parts you can print in given time means savings. From this point of view you will always think about maximum part distribution density, as at first glance it seems to guarantee the best ROI. But it is not so simple. At least in theory, because if you come to a practice and use your SLS 3D printer with dedicated software, it will do the math for you and help you achieve a desirable return on investment. But the purpose of this article is to explain what stands behind the algorithms you can find in, for example Sinterit Studio.
According to a scientific article “Effects on the density distribution of SLS-parts” published in Science Direct, “despite the huge variety of additive manufacturing processes only a few of them have potential to meet the requirements of small series industrial manufacturing. Considering industrial requirements (e.g. reproducibility, mechanical strength) one of the most promising additive processes is the selective laser melting of semi-crystalline thermoplastic powders”.
Academics from the Institute of Polymer Technology in Erlangen, Germany analyzed part distribution over building chamber using PA12 powder from EOS and (PA2200) and printing with DTM Sinterstation 2000. But if you are Lisa, Lisa Pro or Lisa X user you can expect similar findings.High density of models could affect mechanically and geometrical properties of 3D printed parts. Authors found out that “concerning analysis of part positioning effects superposition between thermal and coating parameters must be resolved.”
To keep your printouts in the projected quality, and maximize your pack density follow the 8 rules of model positioning. Thera are also some auto positioning functions available with Sinterit Studio Software.
How to achieve higher pack density in SLS 3D printing?
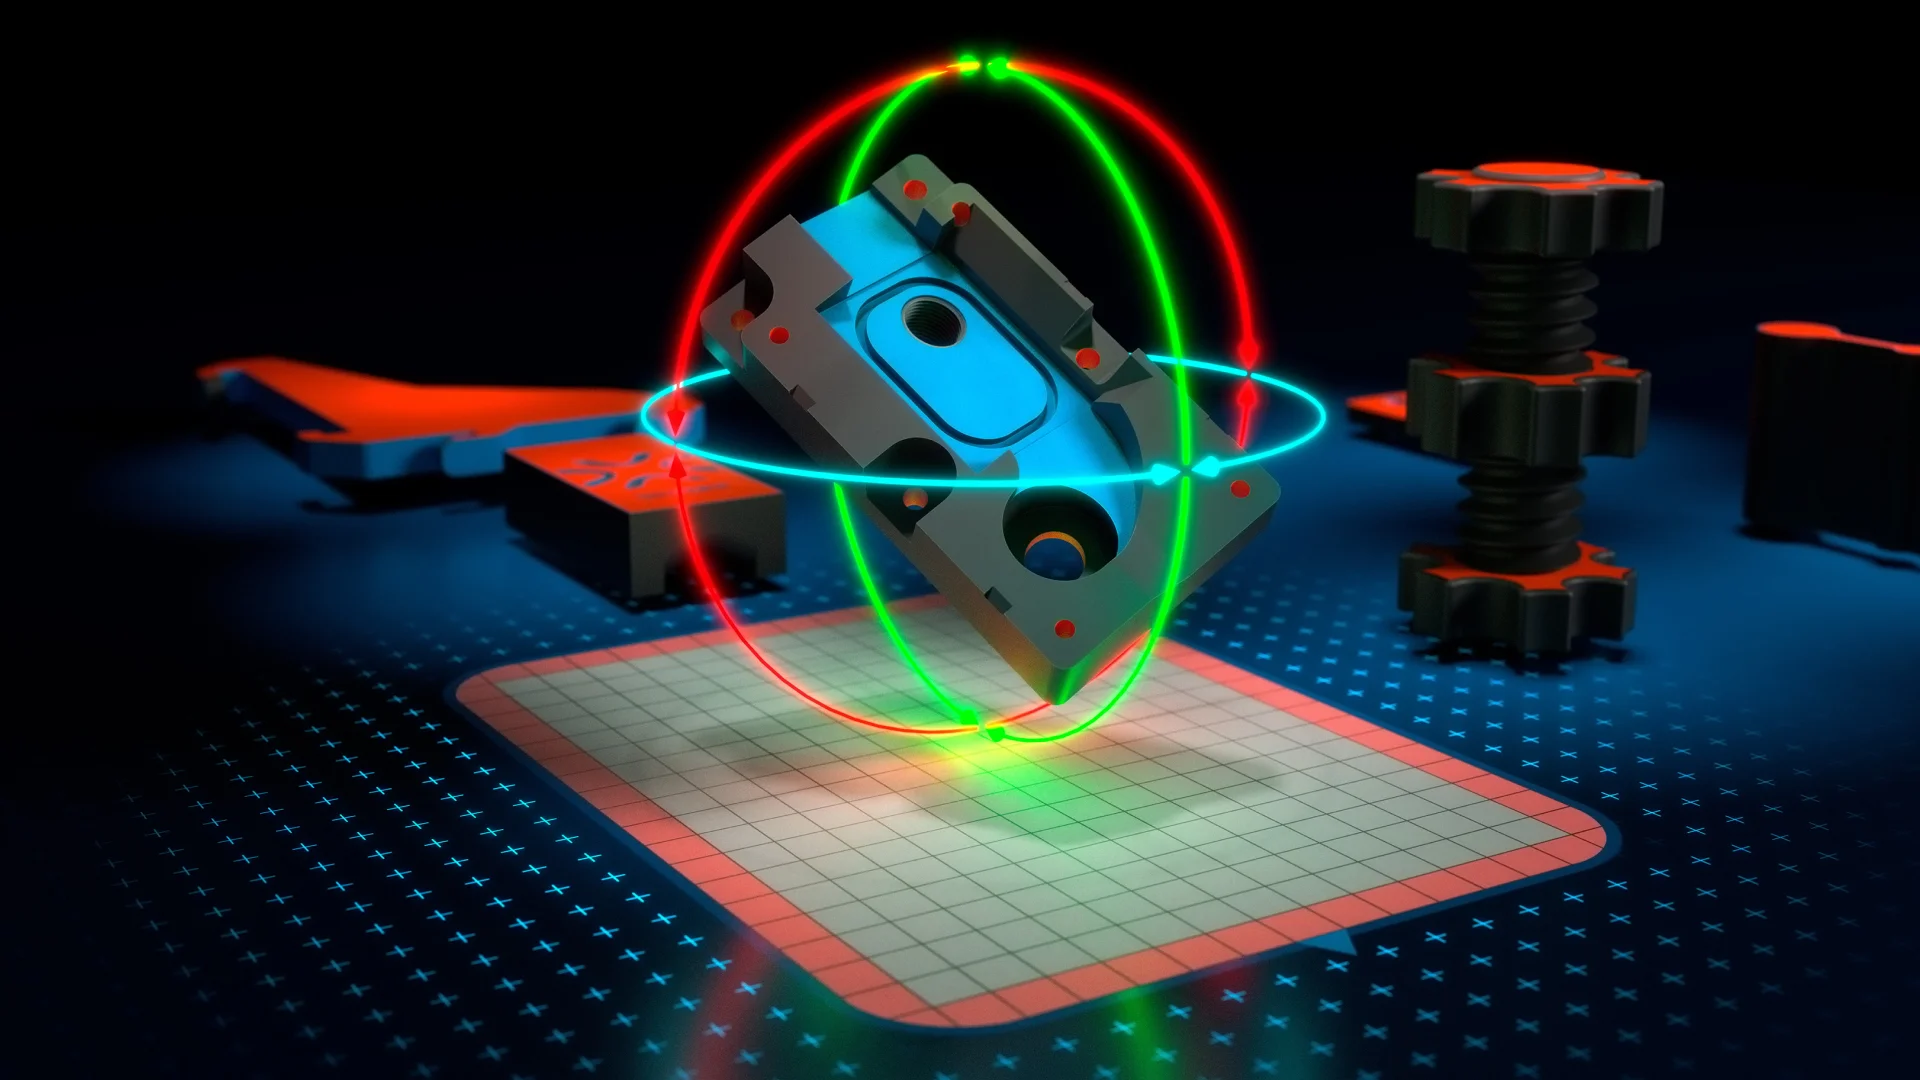
Auto-nesting functionality provides automatic models arrangement in the printing area. This tool will pack Printing Area with prepositioned models, which can significantly shorten the time of build preparation. To do so:
1. Add model in Models step and rotate it accordingly to model positioning rules.
2. Duplicate the model accordingly with a tool called Duplicating models. Do not worry about the models in the red area at this point.
3. Right-click on the screen and select Pack Bed. Now the models are not in the red area and there is no collision between them.
Researching for an optimal auto packing solution we checked how other SLS 3D printer producers address those issues. Some of them reach a very good packing density percentage by changing the orientation of several models to fit the gaps. As mathematically it is a correct approach, in SLS 3D printing you should care more about the physics. And it clearly shows that the model orientation is crucial to maintain the best quality. If you have the same part printed in different positions you could expect peculiar properties of each of them.
Summary
With higher packing density you will receive better ROI, because:
- No supports in SLS technology means more space for additional models,
- Auto-packing software option allows you to make better use of space,
- Printing time will be longer, but considering printer heat up and cool down time, and the time used by the recoater to cover the next layer of powder – all of them constant nevertheless the number of printed objects, at the end of the day you will get more models than if printed separately in small batches.
If you are going for the maximum pack density, remember that:
- Model orientation is crucial – alway position your model for best properties, not just to fit into a free space,
- Too much models in one printout will be exposed to high temperatures for a longer time,
- If models are not distributed evenly, it could also affect printouts properties.
