Replacement of laser protective glass
- Choose UNTurn on the printer and wait until the main menu is loaded.
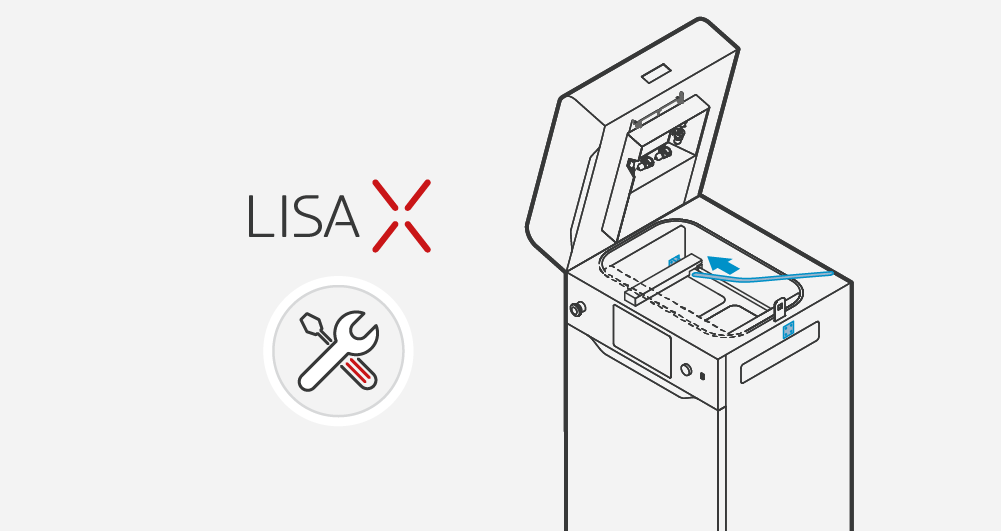
- Unlock the printer’s Lid: press UNLOCK LID//OVERFLOW BIN button on the screen. Remember, you only have 10 seconds to open it before the lock activates again. Softly press and then open the Lid.
- We recommend turning off the power of the device for cleaning/replacing the Laser Protective Glass. (turn off the Ignition key).
- While holding the Heating module, take out the Split pin positioned on the top of the inner part of the Lid.
- Lower the Heating module to get access to the Laser Protective Glass.
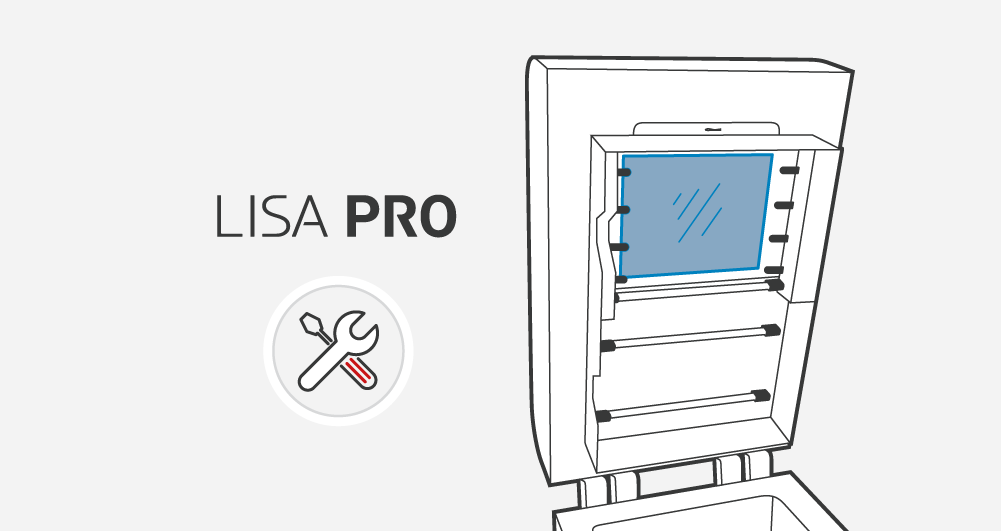
- a. Holding the Laser Protective Glass module, unscrew two Quick release nuts on top of the Lid.
- b. Remove the module from the locking holders located in the middle of the Lid.
- c. Remove the new Laser Protective Glass module from the box.
- Put the Laser Protective Glass (or new Laser Protective Glass) on a stable and clean surface.
- Rub the surface of the glass carefully with an Alcohol pad or cotton cloth soaked with 2% salicylic spirit (ethanol solution) or any other ethanol-based solution. Do not use isopropyl alcohol! Pay attention to any fibres left on the surface. Clean both sides.
- We also recommended cleaning the metal frame of the module.
- Remember to wipe the Laser Protective Glass with a dry piece of cloth afterwards.
- Mount the Laser Protective Glass. Slide the metal tabs of the Laser Protective Glass module into the holders located in the middle of the Lid. Press the gasket gently.
- After obtaining the perfect fit, screw the two Quick release nuts on to the visible screws.
- Clean the Laser Protective Glass one more time from any finger marks or stains if present.
- Join and close the Heating module with the Lid using the metal Split pin.
- Now turn on the printer one more time.