Replacement of print bed isolation
Every time you change from a lower melting point material to a higher melting point material you should swap the seal cords. It is a good idea to clean off the powder residues on the walls before performing the insulation swap.
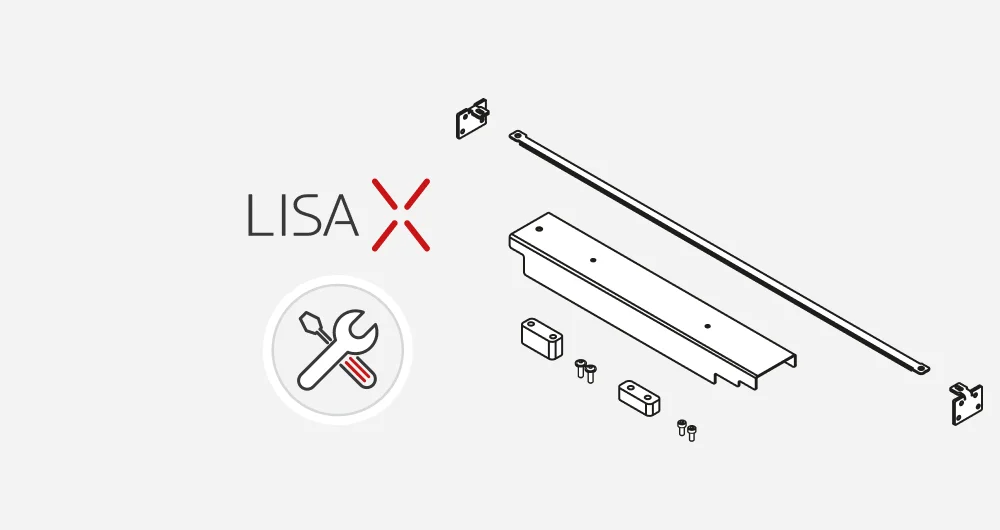
You will need: Sinterit Lisa (PRO) Print Bed Sealing Kit, rubber gloves, a stainless steel probe and a plastic spatula.
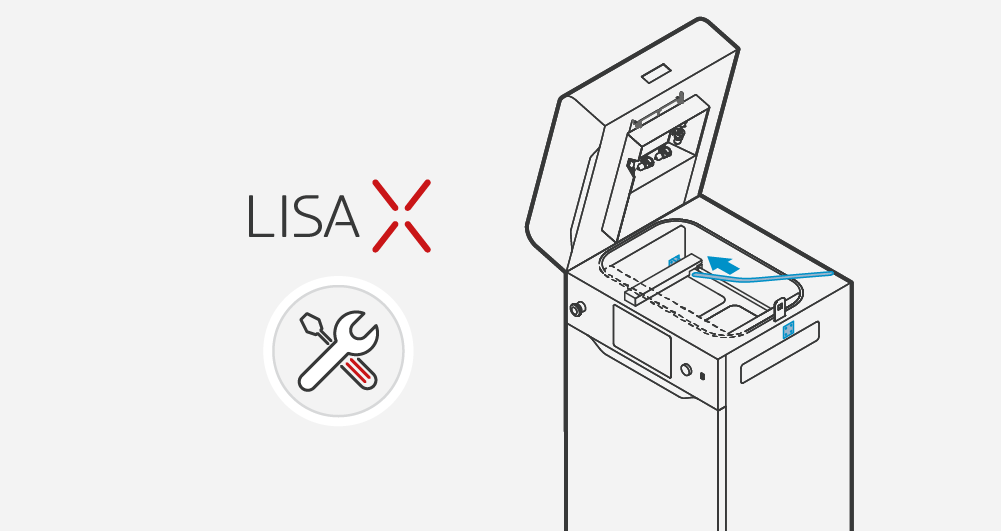
- Turn on the printer and open the lid.
- Turn the printer off and unplug the power cord.
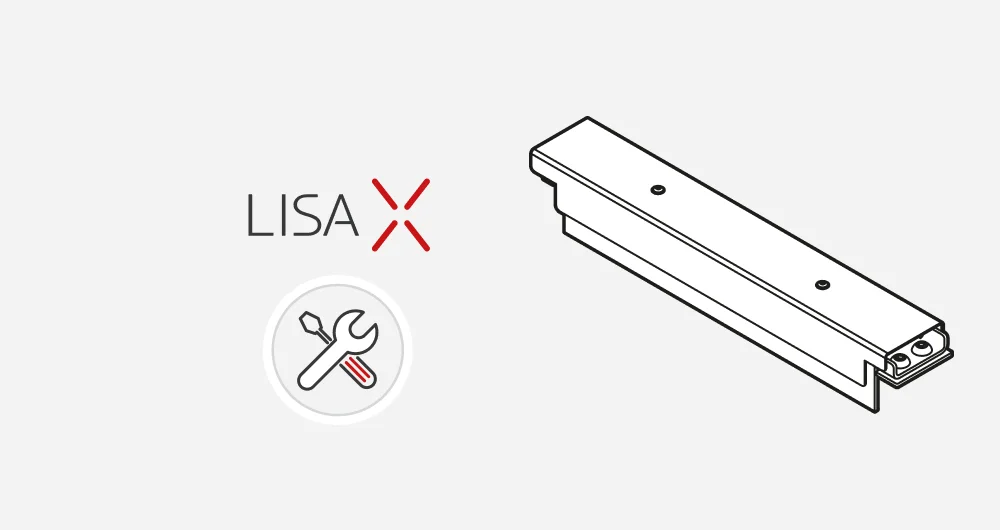
- Remove the four screws that hold the print bed plate in place. Be careful not to damage the wires that are attached to the heaters underneath.
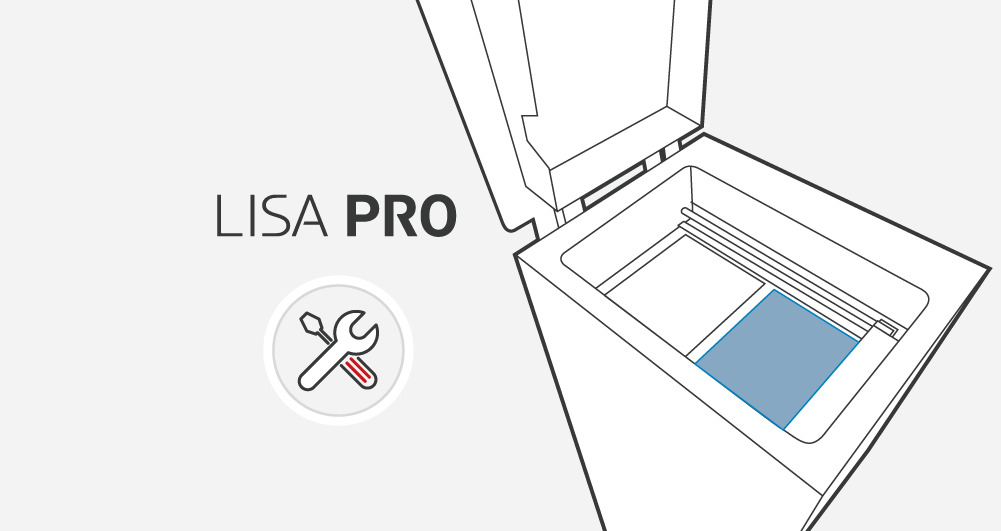
- Using the probe, remove the old seals.
- Install bottom layer of seal – it consists of four short layers of rope (note, there are two pairs, and one pair s slightly longer than the other).
- The second layer consists of one long loop. The end should meet near the overflow bin.
- The third layer consists of one long loop as well. This time the end should meet near the middle of the printer