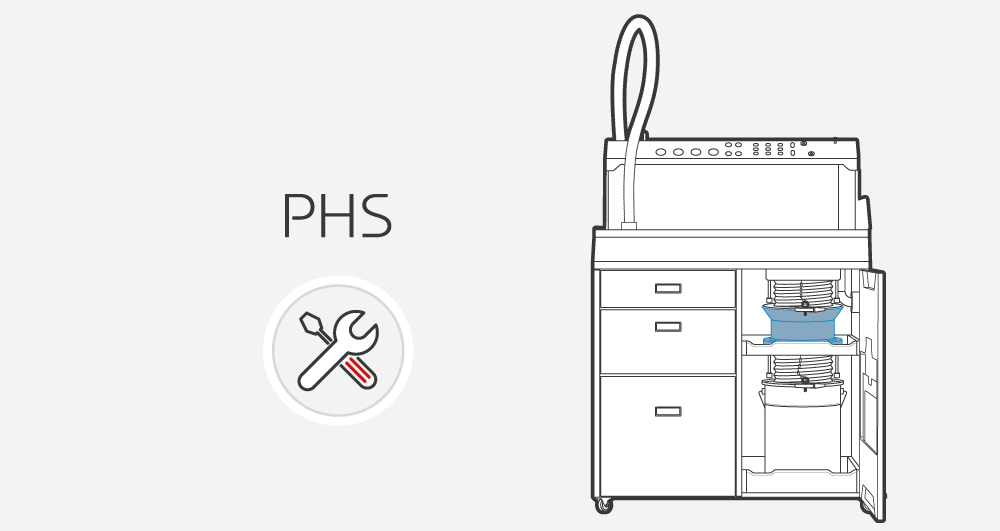
Checking the condition of the Vibrating Sieve and cleaning it – PHS/Multi PHS
- IMPORTANT! Start working only with the vacuum cleaner switched off.
- Open the door of the Sifting module and tap the flexible tube of the Sieve so that the powder from the walls falls on the Vibrating Sieve.
- Remove the sieve locking pin and unfasten the clamping ring.
- Lift and attach the sieve Flexible tube with the flange to the magnetic holders. Put the clamping ring on the flange so that it does not fall on the sieve.
- Release the drawer locks of the sieve and Metal container.
- Pull out the Sifting module – both drawers and at the same time.
- Remove the Antistatic hose from the connector for the Antistatic hose in PHS.
- Connect a PVC brush to the pulled end of the Antistatic hose.
- Check that the grounding of your ATEX/Intertek Vacuum Cleaner is properly installed.
- Turn on the vacuum cleaner and clean the sieve and sieve drawer. Treat the contents of the vacuum cleaner as waste for disposal.
- After vacuuming, turn off the vacuum cleaner and remove the PVC brush from the Antistatic hose.
- Connect the Antistatic hose back to the connector in the PHS.
- Slide the Sifting module back into the device and lock both drawers.
- Lower the Flexible tube with the sieve flange and connect with the Vibrating Sieve.
- Put on the clamping ring and lock it with a locking pin.
- Close the door of the Sifting module.
- Well done. The device is ready for further use.