Cleaning of the laser protective glass – Lisa X
- Choose UNLOCK LID on the printer screen.
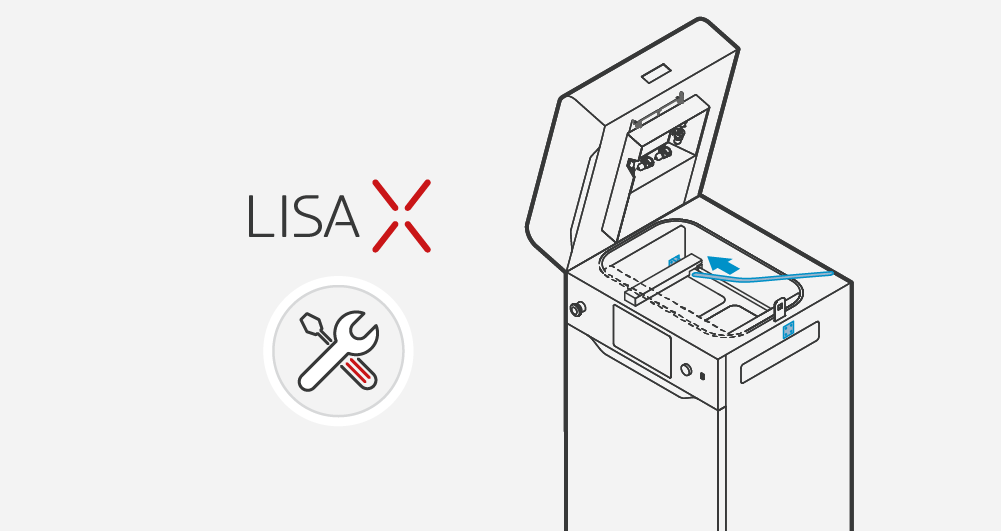
- Push on the lid and pull it up using the lid handle. Remember, you only have 10 seconds to open it before the lock activates again.
- Undo the captive screw / take out the split pin (depending on the printer revision) and lower the heating module.
- Lower the heating module.
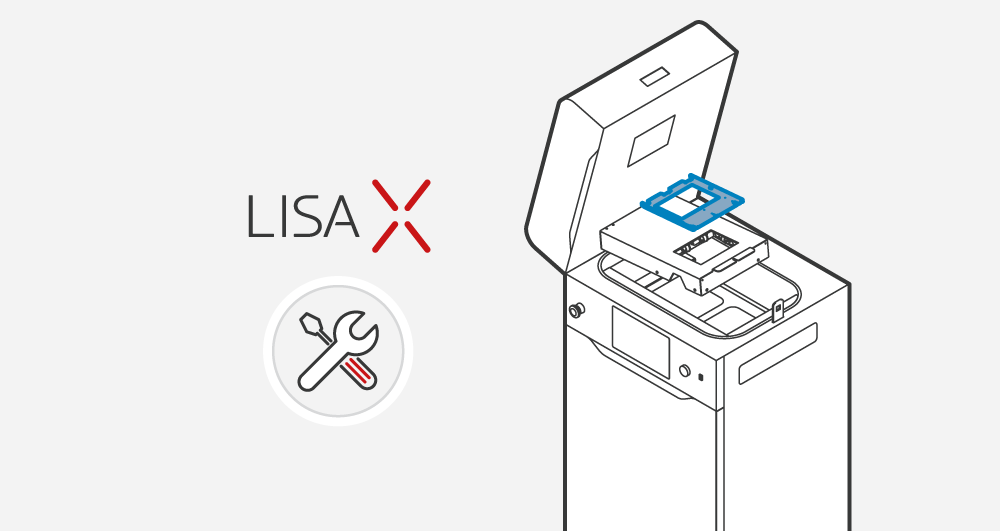
- Unscrew two quick release nuts.
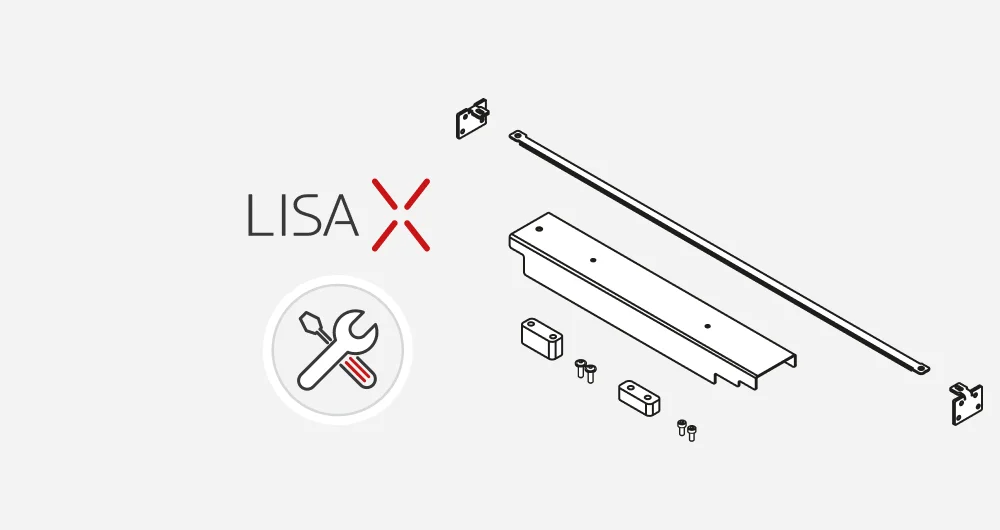
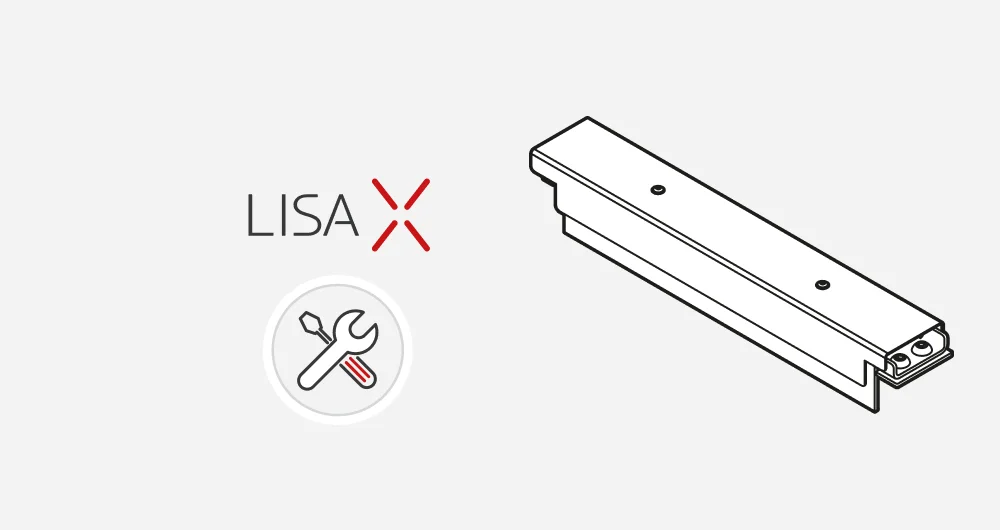
- Take the laser protective glass out.
- Delicately wipe the glass with a cotton cloth soaked in ethanol-based cleaning solution or 99,9% purity isopropanol. You may also use cleaning wipes provided in Dedicated Powder Tools.
- Wipe the glass again on both sides with a dry cotton cloth.
- Slide the metal tabs of the laser protective glass into the mounting brackets below the laser module.
- Lock the laser protective glass in place by mounting and tightening the two quick release nuts.
- Lift the heating module.
- Secure the module with the captive screw/split pin.
- Well done. The printer is ready to work again.
IMPORTANT! Cleaning the laser protective glass after printing from rubber-like materials requires the use of agents containing isobutanol and methyl ethyl ketone, xylene, and toluene.